How to Organise a Student Room in Riyadh: Study, Storage and Shared Space

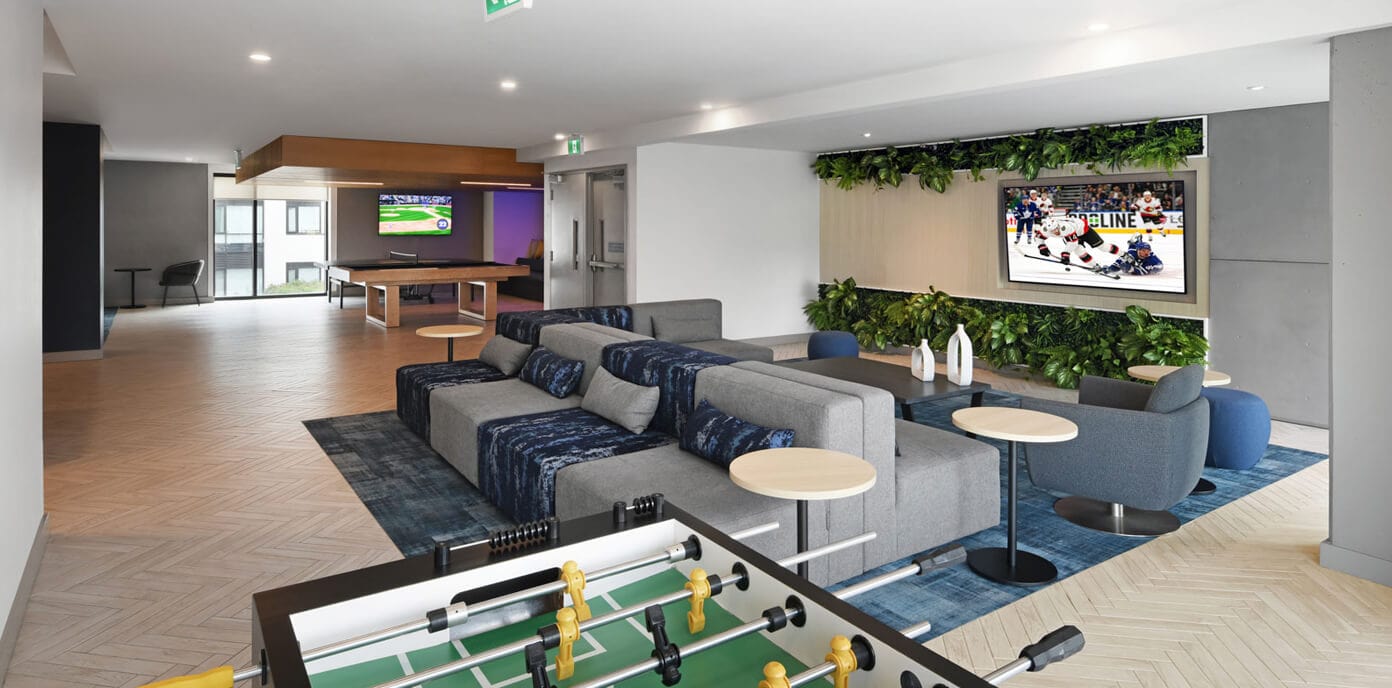
Cover image: AI-generated conceptual illustration, not a photograph of Lavuren premises.
To organise a student room, start with the furniture and storage you actually have, keep everyday routes clear, and give each activity a suitable place. Plan study materials, clothing, personal items and laundry around your real week before buying organisers. If you share, agree on the boundaries of personal and common space and confirm any changes with the accommodation provider.
A useful room arrangement should make an ordinary morning or study session easier. It does not need to resemble a showroom, contain specialist furniture or fit every idea from a dorm-room video. This guide helps women preparing for student accommodation in Riyadh work with the assigned room, including furnished accommodation where furniture cannot simply be replaced or moved.
Check the room and the rules before designing a layout
Request an inventory for your specific room, then identify what can be adjusted. Ask about moving furniture, adding freestanding storage, attaching items to walls or doors, and bringing electrical equipment. A renter-friendly label on a product does not establish permission to use it in your residence. Confirm the provider’s instructions before making a change.
Use the furnished accommodation viewing checklist to record observations when you visit or receive a current walkthrough. Note where the door opens, how cupboard doors move, which areas are shared and whether any furniture or fitting needs attention. A room inventory and an attractive photograph answer different questions.
For a Lavuren stay, the general policies and guidelines are a starting point, followed by direct clarification from the team. This article does not establish a permission to drill, mount shelves, add appliances or rearrange a particular room. It offers a planning method to use within the arrangements that have been confirmed.
Measure useful space rather than guessing from a photograph
Record the dimensions relevant to the items you already own or plan to bring. Useful measurements might include the inside of a wardrobe shelf, a desk surface or the clear opening to a storage area. Take account of handles, doors and the space needed to use an item, rather than measuring only the empty rectangle where it might sit.
A box that fits on paper may still be awkward if you must move the bed or several other boxes to open it. Likewise, a chair needs room to be used, not just room to be tucked under a desk. Test the normal movement involved before deciding that a storage location is practical. Ask for measurements if you cannot inspect the room yourself.
Avoid treating the apparent size of a room as a quality score. A straightforward layout that accommodates your necessary activities can be more useful to you than additional floor space with an awkward route to belongings. Keep this assessment personal to your requirements and the actual room under consideration.
Plan activities before adding containers
List the activities that the room needs to support: sleeping, getting dressed, studying, preparing your bag, and storing personal belongings. Include only activities permitted in the space. If food preparation or laundry takes place elsewhere, plan how you will carry the relevant items rather than attempting to turn the bedroom into another facility.
Give each activity a simple home. This does not require a divider or a different piece of furniture for every task. A compact desk might support study at one time and bag preparation at another, provided you can clear it without putting important items on the floor. The test is whether the change between activities is manageable.
Try arranging what is already present before buying more. An organiser should solve a specific problem, such as papers repeatedly covering the desk, rather than create another surface to fill. If you cannot name what will go inside it and how you will reach those items, delay the purchase.
Keep the study surface ready for the next task
Begin with the equipment your course actually requires. Identify where a notebook, laptop and the material for the current task will go. Keep less frequently used books or supplies elsewhere when suitable storage is available. You do not need every academic item visible to begin working, and a display of supplies can compete with the surface you need to use.
Check how you will use lighting and where cables can run without crossing a route through the room. Follow the provider’s instructions for electrical equipment and report damaged fittings instead of improvising a repair. A general online arrangement cannot certify the suitability of a particular outlet, appliance or installation.
At the end of a study period, save your work, return the materials you have finished using, and leave the next required item ready. This small reset is a planning habit, not a promise of improved grades or productivity. Its value is practical: you can start the next task without first relocating yesterday’s belongings.
Give clothing a place based on how often you use it
Separate daily clothing from items used occasionally. Keep the things needed for your usual week accessible, while placing permitted seasonal or less-used items in less convenient storage. Plan around the actual laundry arrangement, rather than assuming that every residence provides the same facilities inside the room.
A simple clothing rotation can help you decide what deserves prime storage. If you regularly attend a placement in specific clothing, keep that set together once it is ready for use. Avoid packing a wardrobe around imagined occasions while leaving no useful place for daily essentials. Personal preference matters, but storage dimensions still set a practical limit.
Leave enough access to remove and return clothing without disturbing another resident’s belongings. If a storage unit is shared, clarify which areas each person uses before adding dividers or labels. A freestanding organiser should not obstruct an opening or change access to furniture that the provider expects to remain usable.
Separate daily essentials from longer-term storage
Create one consistent place for the small items you need when leaving: your own access item, student identification where relevant, and personal essentials. Choose a permitted location that does not expose private documents or obstruct a shared surface. Keep valuables and important records according to the appropriate security arrangements for your stay.
For other belongings, use a simple frequency test. Daily items should be easy to reach. Weekly items should be accessible without dismantling the room. Occasional items can occupy less convenient permitted storage. Labels are useful when they explain what a container holds, rather than requiring you to open several similar boxes to find one charger.
Review the student accommodation packing list if you are still deciding what to bring. Organisation starts before arrival: leaving unnecessary duplicates behind is often simpler than designing storage around them. Confirm bedding measurements and supplied items rather than buying containers for equipment you may not need.
Treat shared space as a separate planning problem
A shared bedroom or facility needs an arrangement that both residents understand. Discuss which desk, cupboard or shelf is personal and which areas must remain ready for everyone. Do not assume that being first to unpack establishes a right to a larger portion of common space. Confirm any allocation that belongs to the provider’s responsibility.
Our guide to choosing and communicating with a roommate offers questions for this conversation. Use specific examples: where will each person leave laundry, what happens when study periods overlap, and how will you ask before borrowing an item? Physical organisation works better when the associated habits are also clear.
If a room has separate personal zones, keep the route between them practical. Neither person should need to move the other’s belongings to open a cupboard or leave. Ask before photographing a shared setup or posting a room tour. An organised layout does not remove the other resident’s right to privacy.
Plan how belongings move through the week
Storage is only part of organisation. Think about the route taken by a used towel, a finished assignment, tomorrow’s clothing or a bag returned from university. Give these temporary items a suitable place so that the bed or desk does not become the default holding area for every unfinished task.
For laundry, confirm where items may be kept and how the available facilities are used. Keep personal care materials separate from cleaning supplies and follow the relevant product instructions. Avoid creating new arrangements in a shared bathroom or kitchen without the appropriate agreement. Small containers can help, but only if they suit the actual facilities.
For Lavuren-specific questions, review the resident services information and ask the team which arrangements apply to your room. Do not infer a particular cleaning or laundry schedule from this guide. Your weekly system needs to match the service scope that is actually confirmed for your stay.
Use a first-week experiment instead of a permanent makeover
On arrival, set up the essentials and leave optional changes for later. During the first few days, notice where items repeatedly accumulate, which cupboard is difficult to access, and what you move before each study session. These observations identify a real problem more reliably than purchasing a complete organisation system in advance.
Consider a hypothetical student who puts all course material beside her bed because there is initially room. After the first week she notices that every study period begins with carrying the same folders to the desk. Moving the currently used folders nearer the study area could simplify that routine, if suitable storage is available. The example illustrates a decision process, not a claim about a specific Lavuren room.
Make one change at a time and test whether it helps. If a problem comes from a damaged fitting or insufficient confirmed furniture, contact the provider rather than disguising it with another purchase. A small weekly review can distinguish a habit that needs adjusting from a room requirement that needs a direct answer.
Copy this room organisation worksheet
Use this short worksheet before bringing extra storage into the room. You can complete it with measurements or questions when a detail is still unknown. It should record the actual assigned space, rather than an idealised layout copied from a photograph of another residence.
- Activity: What will I do here?
- Items: What does that activity genuinely require?
- Current place: Where do those items go now?
- Frequency: Daily, weekly or occasional?
- Dimensions: What space is available and what must open?
- Permission: Does this arrangement require provider approval?
- Sharing: Whose space or belongings could it affect?
- Access: Can I use it without moving unrelated items?
- Next action: Measure, ask, move a permitted item, or delay buying?
- Review: Did the change make the ordinary task easier?
Keep the worksheet short. The purpose is to make a decision, not to produce a detailed design document for every possession. If the room’s inventory or your timetable changes, revisit the affected activity instead of rebuilding every part of the arrangement.
Once belongings have a fixed place, use the student room cleaning routine and weekly checklist to plan surfaces, floors and shared responsibilities around your actual timetable.
Common mistakes to avoid
Buying storage before measuring can create a second problem instead of solving the first. Copying a room with a different layout can do the same. Treat online inspiration as a source of ideas, then check dimensions, permission and access in your own room. Do not raise a bed, mount heavy furniture or modify fixtures based on a decorative example.
Another mistake is filling every available space. Leave the room’s normal routes and equipment accessible, and keep only what your intended stay needs. A final mistake is expecting organisation to settle a disagreement over shared habits. Where the issue is ownership, timing or privacy, discuss it directly rather than hoping a different box or shelf will resolve it.
Frequently asked questions
Should I buy under-bed storage before moving?
Confirm that storage is permitted, measure the usable space and check how a container would open. Bed frames, access and room layouts vary. A container that seems suitable online may not fit your assigned room, so a purchase can wait until you have the relevant information.
How do I organise a room without changing furniture?
Start with the placement of belongings and the activities each existing surface supports. Group daily items, return finished study materials to their designated place, and coordinate any shared storage. Ask the provider before moving furniture or adding fixtures; small organisational changes do not require assuming new permissions.
Can a shared bedroom still have a useful study area?
It may, depending on the room and the residents’ requirements. Confirm the desk arrangement, access and available alternatives. Discuss calls and overlapping study periods with your roommate. Do not treat a general description of a study-friendly residence as proof that every activity fits every bedroom.
How can I check a Lavuren room before planning?
Review Lavuren’s room options and ask about the specific inventory and arrangements through the contact page. Confirm current details before making additional purchases. Enquiries and booking arrangements are handled through contact with the team; this guide does not confirm dimensions, availability or supplied equipment.
After planning the layout, use our weekly plan for studying in shared accommodation to match coursework, quiet study locations and household tasks to your actual timetable.
Inspiration and scope
IKEA’s student-room organisation ideas illustrate approaches to arranging belongings in a compact space. They are design inspiration, not evidence of Lavuren’s furniture or permission to alter a residence. Use the planning questions above with your actual room and the provider’s confirmed instructions.